
 English


Blog
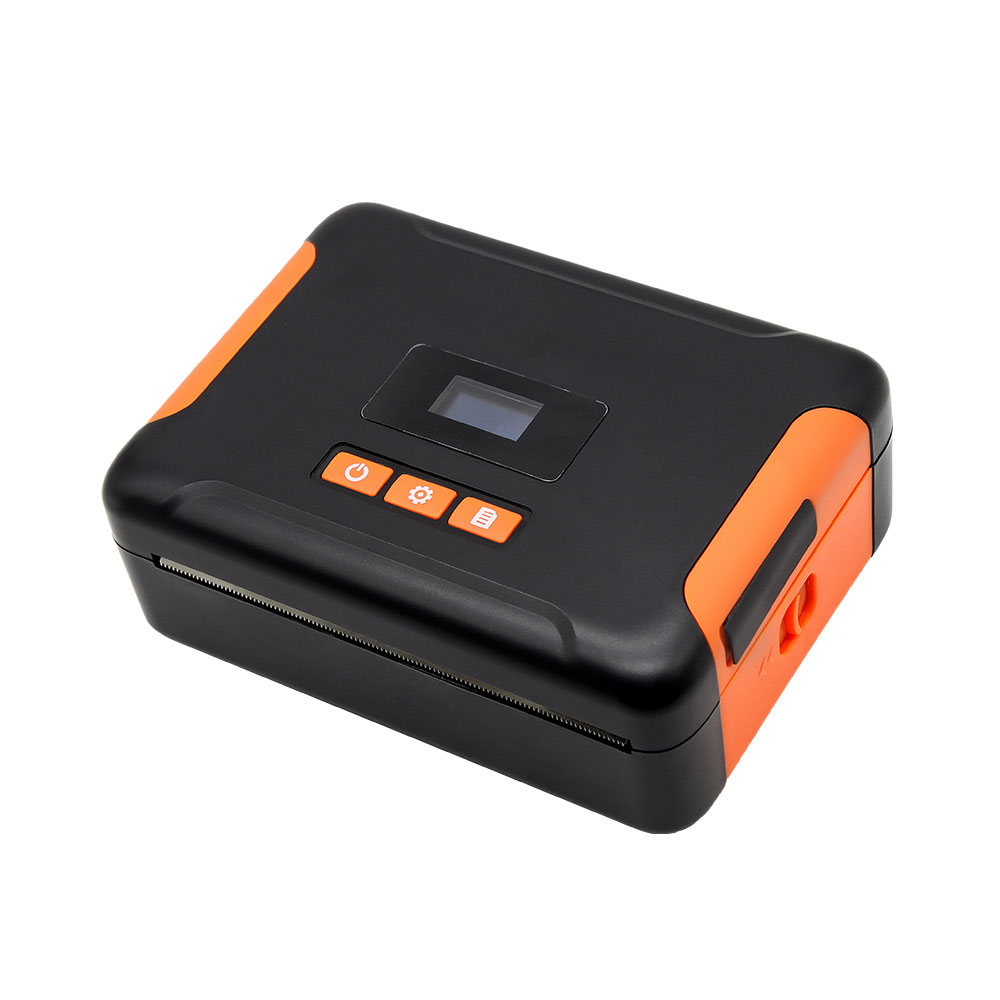
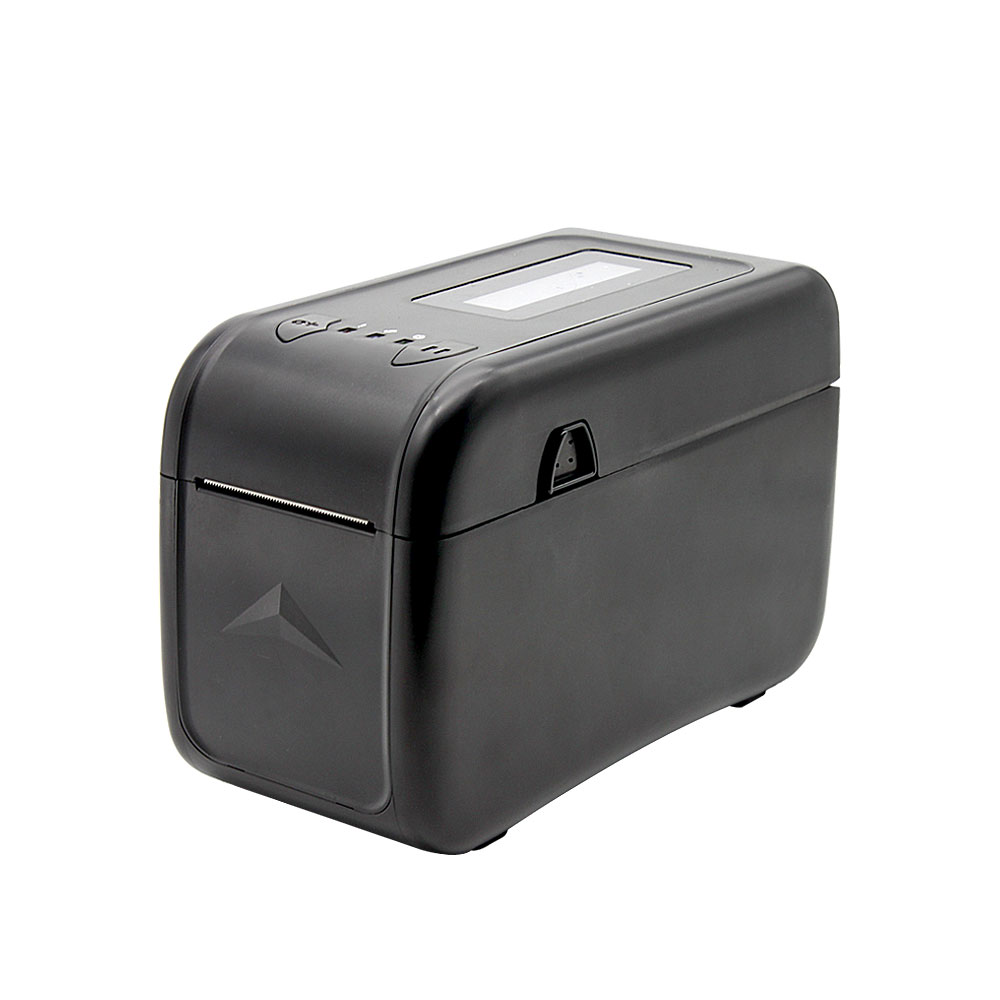
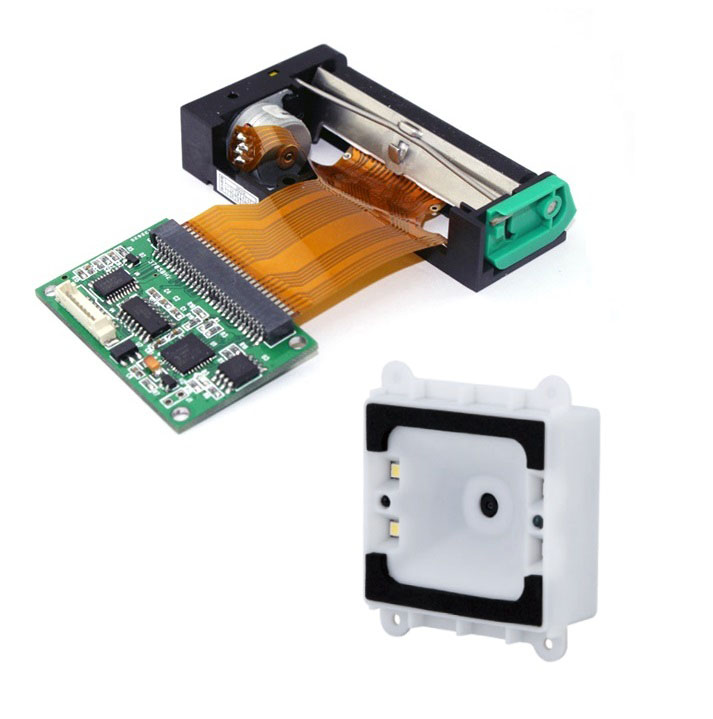
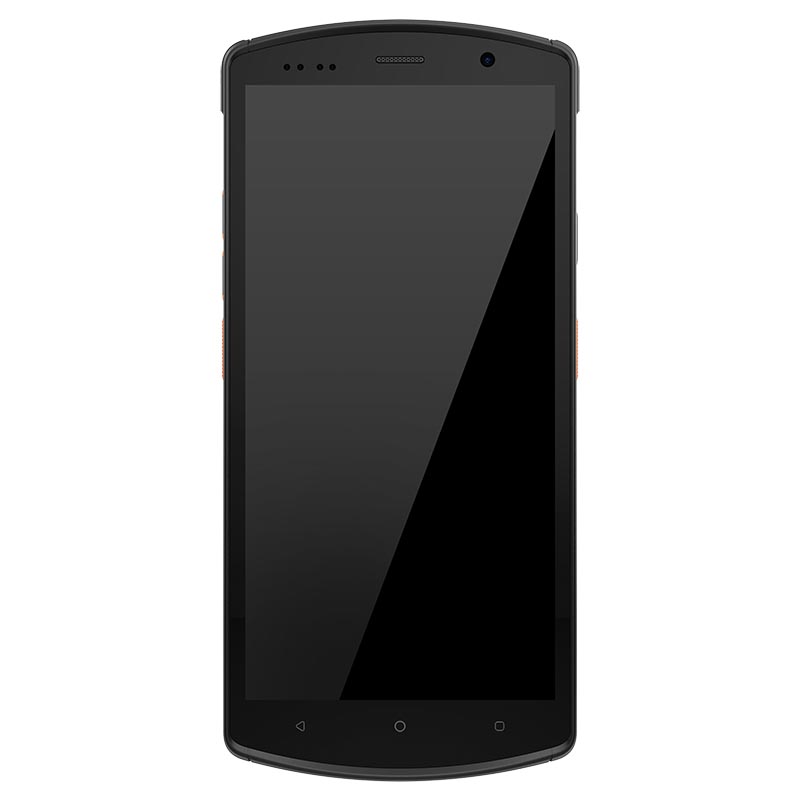
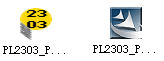
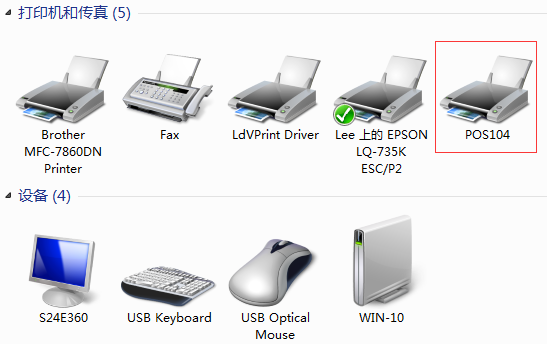
How to Install a mobile Printer in Windows by USB Cable
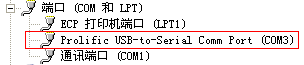

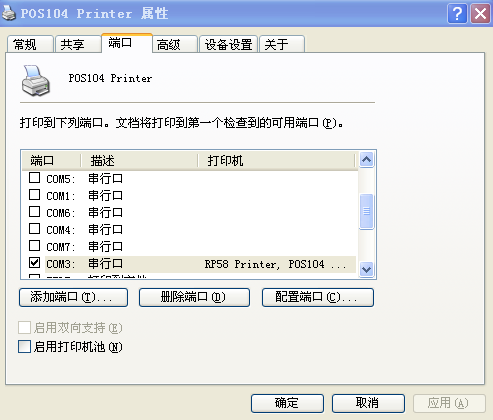
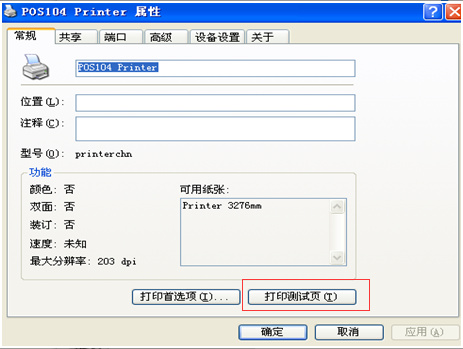
3. Printer's port settings and print self test page by windows.
Categories
Latest blog
 3-4/F, YongShi Industrial Park, No.361 Qiaoying Road, Jimei District, Xiamen,China
 +86-592-5231815


© Copyright: 2024 Xiamen Cashino Technology Co., Ltd. All Rights Reserved.

IPv6 network supported


